Introduction
How to Start Selling Products via WordPress
Starting an online store can be a daunting task, but with WordPress, the process becomes streamlined and efficient. WordPress, combined with the robust hosting solutions, offers a powerful platform to launch and grow your e-commerce business. In this guide, we’ll walk you through the steps to set up your online store using WordPress.
Table of Contents
1. Why Choose WordPress for Your Online Store?
WordPress is a versatile and user-friendly CMS that powers over 40% of all websites on the internet. Its extensive plugin ecosystem, particularly WooCommerce, makes it an excellent choice for building an online store. Here’s why:
- Ease of Use: WordPress is known for its intuitive interface and easy setup process.
- Customization: With thousands of themes and plugins, you can tailor your store to your exact needs.
- SEO-Friendly: WordPress offers powerful SEO tools to help your store rank higher in search engine results.

2. Setting Up WordPress
Step 1: Install WordPress
- Choose a Hosting Provider: Select a reliable hosting provider that supports WordPress. Many providers offer one-click WordPress installation. (We recommend Luxvps)
- Install WordPress: Follow the hosting provider’s instructions to install WordPress. Most will have a simple, guided process.
Step 2: Choose a Theme
- Navigate to Appearance > Themes: In your WordPress dashboard, go to the themes section.
- Select a Theme: Choose a theme that suits your store’s aesthetic. There are many free and premium themes available.

3. Setting Up WooCommerce
Step 1: Install WooCommerce
- Go to Plugins > Add New: In the WordPress dashboard, search for the WooCommerce plugin.
- Install and Activate: Click install and then activate the plugin.

Step 2: Configure WooCommerce
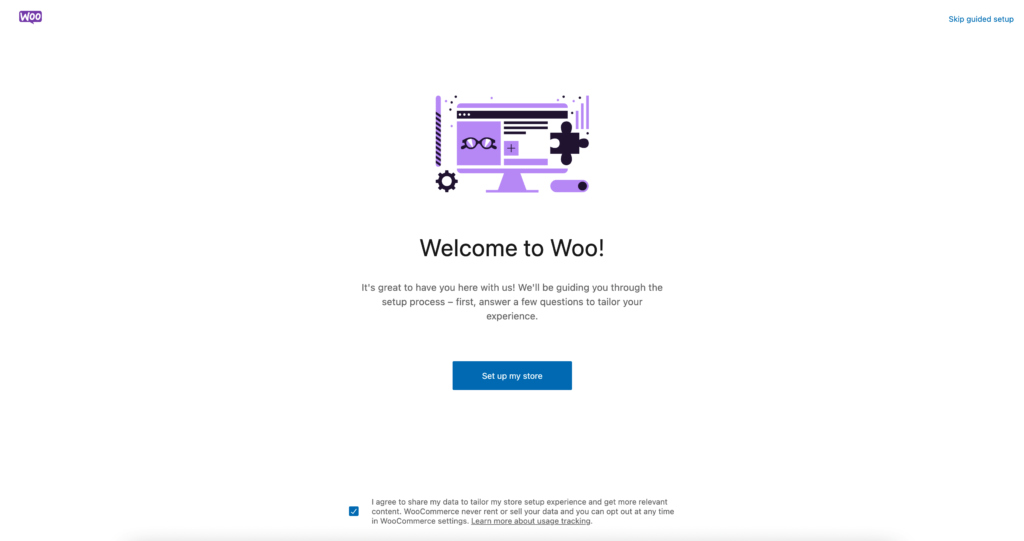
- Run the Setup Wizard: WooCommerce will guide you through the initial setup, including configuring your store’s location, currency, and shipping options.
- Add Products: Start adding products to your store by navigating to Products > Add New.

4. Optimizing Your Online Store
Step 1: Enhance Site Speed
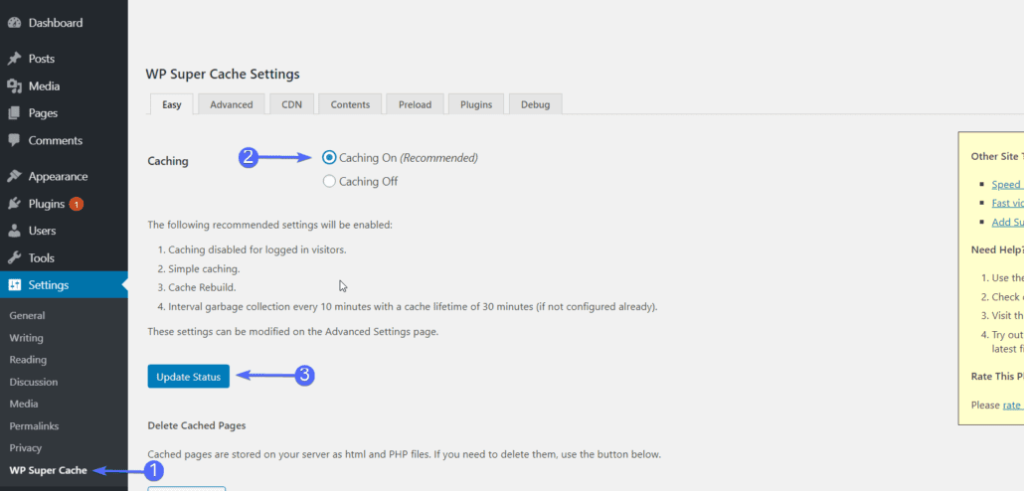
- Enable Caching: Use caching plugins like WP Super Cache or W3 Total Cache to speed up your site.
- Optimize Images: Compress images using plugins like Smush or EWWW Image Optimizer.

Step 2: Improve Security
- Install Security Plugins: Use plugins like Wordfence or Sucuri to protect your site.
- Enable SSL: Ensure your store is secure by installing an SSL certificate.

5. Marketing Your Online Store
Step 1: SEO Optimization
- Install Yoast SEO: Optimize your site for search engines with Yoast SEO.
- Keyword Research: Use tools like Google Keyword Planner to find relevant keywords for your products.

Step 2: Social Media Integration
- Share Products on Social Media: Use plugins like Social Warfare to share your products on social platforms.
- Create Social Media Campaigns: Engage with your audience through targeted social media campaigns.

Conclusion
Launching an online store with WordPress is a straightforward process that can yield significant results. By following this guide, you’ll be well on your way to creating a successful e-commerce site. Remember, the key to a successful online store is not just in the setup but also in continuous optimization and marketing.

Hosting Your WordPress Store with Luxvps
For optimal performance and reliability, consider hosting your WordPress store with Luxvps. They offer dedicated resources, scalability, and advanced security features to ensure your store runs smoothly and securely.


Leave a Reply